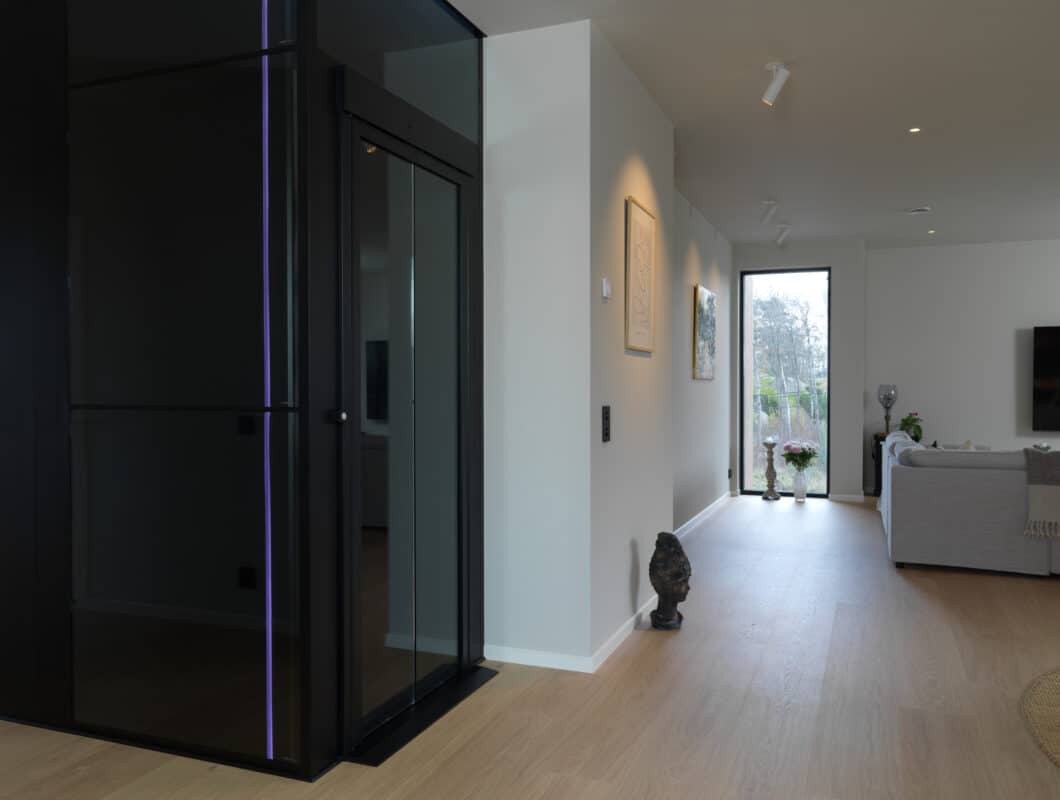
What Needs to be Prepared Before Installation?
Installing a home lift is an important decision that requires proper planning and preparation. A typical home lift installation takes 2–4 days for a platform lift type solution, with additional time for more floors. Before installation begins, it’s crucial to prepare the space and ensure accurate measurements for a smooth process.
Key Preparations Before Installation
- Measure the Space Correctly
Accurate dimensions for the “hole-through-the-floor” and pit (if you want the door flush with the floor) are essential. SWIFT checks drawings or takes actual measurements during a home visit to verify preparation. - Choose the Right Lift Type
Decide on the best lift for your home:
Consult a professional if you’re unsure which home elevator installation suits your property.
- Prepare Your Home
Ensure:
- Adequate space is available for the lift.
- Power supply and wiring meet lift requirements.
- Plumbing or related infrastructure is ready, if needed.

Elevator Installation Process – 9 Steps
Step 1: Site Inspection
Experts assess safety compliance, available space, headroom, and clearance for doors.
Step 2: Lift Design Planning
Finalize design, including lift size, capacity, controls, interior layout, and door type.
Step 3: Base Installation
Build a strong foundation. Some lifts may require a small pit. The framework is secured for stability.
Step 4: Shaft Construction
Construct the lift shaft with precise measurements, including columns, floors, and sealed walls.
Step 5: Installing Machinery & Carriage
Install the motor, pulleys, ropes, counterweights, and securely attach the lift carriage.
Step 6: Adding Gates & Safety Enclosures
Install safety gates, doors, enclosures, and emergency buttons.
Step 7: Electrical Wiring
Connect motor, control panel, and safety sensors. Power up the lift and test functionality.
Step 8: Cabin Interior & Finishing
Complete the cabin with flooring, walls, ceiling panels, lighting, and fixtures for comfort and style.
Step 9: Final Safety Checks
Perform a full inspection including brakes, door locks, and sensors. Resolve any issues before the lift is ready to use.
Most home elevator installation projects cause minimal disruption and do not require invasive building work. Additional adjustments, such as moving pipes, are discussed by consultants and surveyors before installation.


