
A domestic lift in your home can enhance accessibility, add convenience, and increase the value of your property. Nevertheless, the process involves multiple steps, from initial planning to post-installation care. You may also have concerns about costs, space limitations, safety, and aesthetics. This SWIFT Lifts guide will show you the domestic lift installation process and provide you with insights to help you make informed decisions.
Initial Planning and Consultation For Lift Installation
1. Assess your Needs and Objectives
The first step is to know why you need a domestic lift. Is it to assist elderly family members, improve your mobility, or add a touch of luxury? Your objectives will guide you in selecting the best solution.
2. Budget and Financial Considerations
Cost is a major factor for many homeowners. Domestic lifts vary in price based on type, size, and features. It’s essential to set a realistic budget. You need to factor in not only the initial installation cost but also ongoing maintenance expenses.
3. Consultation with Professionals
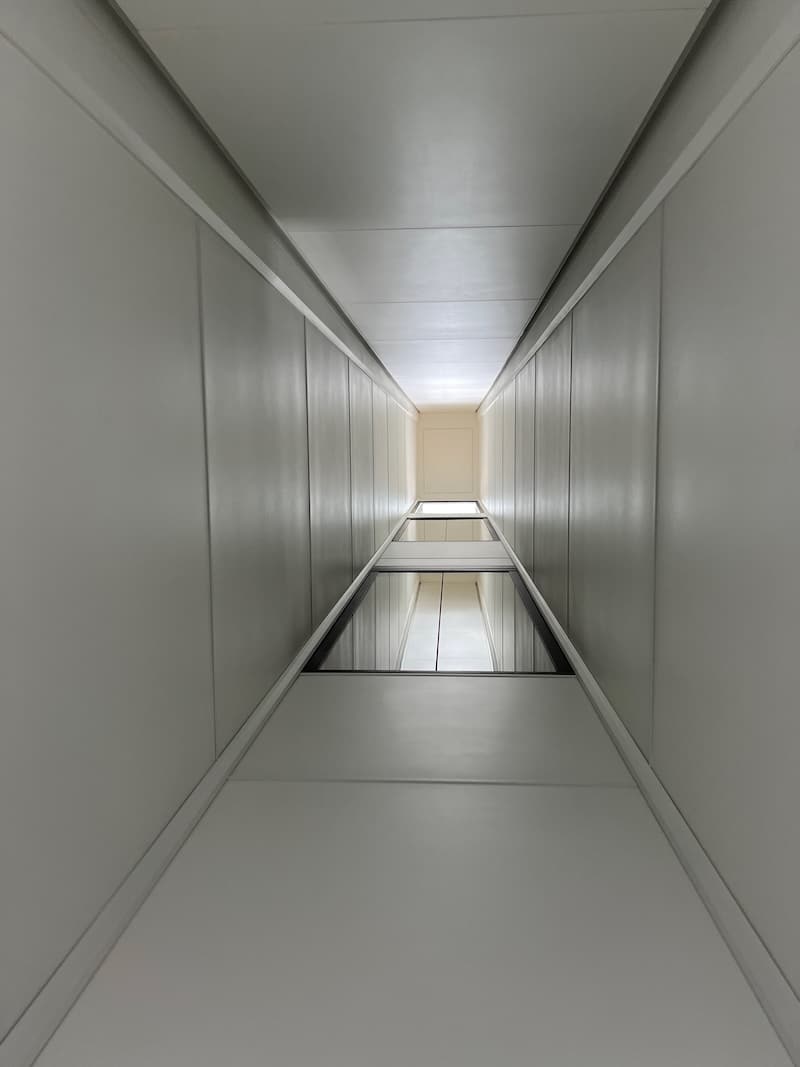
Collaborate with lift specialists to evaluate the best options for your home. During this phase, you’ll also need to assess the available space and decide on the ideal location for your lift. For instance, SWIFT’s solutions require minimal space below and above the lift.
Installation can take 2-4 days for platform lifts, with more time required for additional floors. SWIFT can verify preparation work by checking drawings or conducting measurements during a home visit. If preferred, SWIFT can also manage pit preparation and floor cut-outs for an additional cost.
4. Site Assessment and Feasibility Study
A thorough site assessment determines whether your home’s layout can accommodate a lift. SWIFT evaluates your home’s structural limitations, available space, and potential modifications to ensure your lift’s feasibility.
Design and Customisation Options
1. Lift Type Selection
Choosing the right lift type is essential. Your options can include screw and nut, hydraulic, traction, and pneumatic lifts, each with unique advantages. For instance, hydraulic lifts are ideal for larger loads, while pneumatic lifts work well in space-constrained homes.
2. Style and Finish Choices
Modern residential lift elevator come in various designs and finishes to match your home’s interior. You can customise materials, colours, and patterns to ensure the lift complements your décor.
3. Accessibility and Safety Features
Safety is paramount. Features such as non-slip flooring, emergency alarms, and backup power systems enhance reliability. For wheelchair users, ensure your lift meets accessibility standards.
4. Smart Technology Integration
Consider integrating smart features, such as app-controlled operation and voice commands, for added convenience and future-proofing.

Pre-Installation Preparations
1. Securing Permissions and Approvals
Domestic lift installation often requires permits to comply with local regulations. Work with professionals and handle your paperwork efficiently to avoid delays.
2. Structural Modifications
Your home may require structural changes, such as reinforcing floors or adjusting ceiling heights. These modifications are planned during the pre-installation phase to minimise disruption.
3. Scheduling and Timelines
To Install lift in house set a clear timeline and coordinate with your contractors, engineers, and installers. The typical duration is usually 4 to 6 weeks for standard lifts.
4. Safety Precautions for the Installation Site
Prepare your site by removing obstacles, securing the area, and making sure your contractors follow safety protocols during the installation process.
Home Lift installation Process
1. Equipment Delivery and Setup
Once everything is ready, the lift equipment is delivered and set up at your home. Professionals should ensure all components are intact and compatible with your site.
2. Installing the Lift Mechanism
The lift mechanism, whether screw and nut, hydraulic, traction, or pneumatic, need to be carefully installed. This involves attaching the rails, car, and motor components.
3. Electrical and Control System Integration
Electrical wiring and control systems are connected to ensure seamless operation. This step includes integrating smart features if applicable.
4. Testing and Calibration
Before the lift is operational, technicians should conduct rigorous testing and calibration to ensure smooth performance and adherence to safety standards.
5. Final Safety Inspection
A comprehensive safety inspection ensures that your lift meets all regulatory requirements and is safe to use.
Post-Installation Steps
1. Homeowner Training and Usage Guidelines
After installation, you’ll receive training on how to operate and maintain the lift. Clear instructions will enable you to use it safely and efficiently.
2. Maintenance Recommendations
Regular maintenance is essential for keeping your lift in top condition. Schedule periodic servicing to address wear and tear and prevent breakdowns.
3. Warranties and Service Agreements
Ensure you have a comprehensive warranty and a reliable service agreement to cover repairs and support.
Conclusion
Residential lift installation lift is a valuable investment that enhances your home’s functionality and appeal. At SWIFT, we simplify the process, offering elegant and space-saving models that fit into your budget and home. Our experienced technicians will also guide you every step of the way, from consultation to installation. Transform your living space with a SWIFT domestic lift. Contact us today for a consultation and discover the endless possibilities of home lifts.
Get in Touch!


